
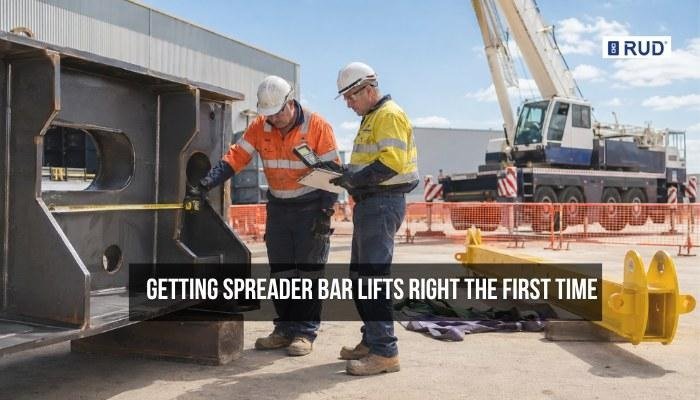
Imagine your crew has the crane in position, the load is rigged, and everyone’s ready to go, then someone notices the sling angles look off. A load that’s unbalanced under a spreader bar can tip, slide, or put unexpected strain on the rigging.
By that point, it’s too late to fix things calmly. If this sounds like a situation you’d rather avoid altogether, you’re in the right place.
Our team here at RUD Australia has spent decades engineering and certifying lifting equipment from our Brisbane facility. That includes modular spreader beams built for major infrastructure projects. We know what separates a controlled lift from a risky one.
In this guide, we’ll walk through:
- Why load assessment has to happen before the spreader bar goes anywhere near the crane hook
- How to check sling angles properly, and what tension factor and included angle mean on-site
- What happens during the pre-lift checks, communication, and test lift
- What a qualified person watches for once the load leaves the ground
Read on, and you’ll know how to plan a spreader bar lift that goes right the first time.
Why Load Assessment Comes Before You Touch the Spreader Bar
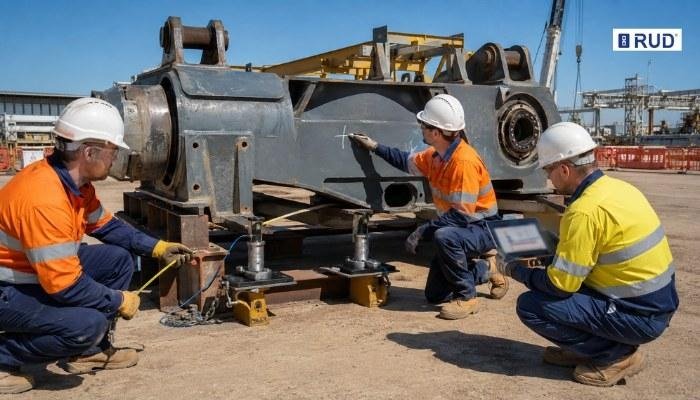
Load assessment comes first because every decision after this point, from bar selection to sling angle, depends on getting the numbers right. Skip this step, and you’re rigging blind.
Let’s break down the three checks that come before anything else.
Confirm the Load’s True Weight and Centre of Gravity
On a symmetrical load, finding the centre of gravity is simple enough. But an irregular shape, like a piece of plant equipment or an offset steel frame, won’t have its balance point sitting where you’d expect.
One practical method is to mark the load’s outline and estimate weight distribution across each section. From there, adjust your pick points to sit above that estimated centre rather than the visual middle of the object. Getting this wrong is one of the most common causes of an unbalanced lift.
Match the Spreader Bar’s Rating to the Job
Rating a spreader bar above the load weight isn’t the only factor. You also need to consider the span required, the headroom available, and if a standard bar covers it or not.
Our team at RUD Australia has worked on projects like the Townsville Ring Road upgrade. There, a 35-tonne, 25-metre modular spreader beam was designed, fabricated, and certified from our Brisbane facility to handle precast bridge elements.
That kind of project shows why the rating question goes beyond a simple weight check. Even so, a custom solution isn’t needed for every lift, but knowing when a standard bar won’t cut it changes how the whole lift plays out.
Check the Load Shape for Flex or Fragility Risk
Long, flexible items like pipes, panels, or precast concrete sections can bend or crack under uneven sling pressure if rigged incorrectly. A spreader bar spreads the sling legs apart, which reduces the inward compressive force on the load itself.
That’s the whole reason spreader bars exist in the first place. It’s worth checking early if your load needs one, or if a simpler rigging setup would do the job.
Once you’ve worked through the load’s weight, centre of gravity, and shape, you’re in a much stronger position to move on to sling angles.
Checking Sling Angles Before Every Spreader Bar Lift
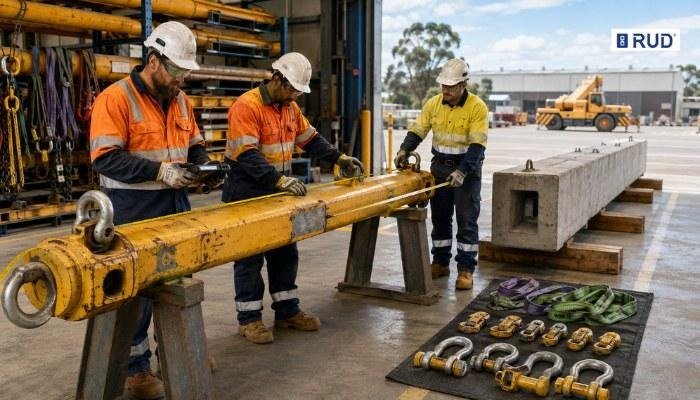
Sling angles determine how much strain your rigging carries during a spreader bar lift. When you get the angle wrong, you put far more force on the slings than the load weight alone would suggest.
What changes as the angle narrows, and how you judge it properly on site, comes down to two checks.
Why a Narrow Angle Puts More Strain on Your Slings
The included angle is the angle between the two sling legs where they meet at the lifting point. As that angle narrows, the tension factor on each sling climbs sharply, even though the load weight hasn’t changed at all.
A wide, open angle spreads the load evenly across both slings. And once that angle starts closing in, each sling ends up carrying more than its fair share. Near misses on site often trace back to this issue. Not enough attention gets paid to the angle before things are lifted clear of the ground.
A Practical Threshold for On-Site Checks
You don’t need a rigging engineering degree to judge an angle safely. The table below gives you a quick reference for how the included angle affects sling tension, so you can spot a risky setup before it becomes a problem.
| Included Angle | Effect on Sling Tension |
| 90° or wider | Load spreads evenly, tension factor stays low |
| 60°–90° | Moderate tension increase, still within safe working range for most slings |
| Below 60° | Tension factor rises quickly; the sling’s rated capacity gets used up fast |
| Below 30° | Avoid this angle; tension on each sling can exceed the load weight itself |
A good rule for the field: If the angle looks tighter than a right angle, stop and check it properly before lifting. You don’t need to run a full calculation every time, but a rough visual check catches most problems before they start.
Calculating sling angles more precisely takes a bit more care, especially when confirming sling length against your spreader bar’s span. WorkSafe Victoria’s guidance on dogging and slinging techniques confirms that a competent person must apply load and sling angle factors when working out the correct rated capacity for a lift.
Connecting Angle Control Back to Load Balance
A well-chosen angle keeps the load balanced and steady as it lifts clear of the ground. Once the angle checks out, you’re ready to move into the pre-lift checks. From there, the test lift itself confirms whether everything’s rigged correctly before the load goes any higher.
Running the Lift: Pre-Checks, Communication, and the Test Lift
Once the load’s assessed and the sling angles check out, the next stage is getting the crew ready and running the test lift. Planning turns into action here, and small oversights tend to surface fast.
Here’s what to lock down before the load lifts clear, and what to watch once it does.
Confirming Sign-Off Between the Dogger and Crane Operator
Before anything leaves the ground, the dogger needs to confirm the rigging with the crane operator. This isn’t a quick nod and a thumbs up. It means checking that both parties agree on the lift plan, the intended path, and the signals they’ll use if the load goes out of the operator’s view.
In Victoria and most other states, this kind of judgment call on slinging technique falls under dogging work, and it requires a dogging high-risk work licence. A qualified person needs to confirm the working load limit of the gear.
This means factoring in the load weight, the sling angle, and the type of hitch used, because none of these numbers works in isolation. If the crane operator can’t see the load directly, someone has to direct the movement, and that person needs to hold the right licence for it too.
Running the Test Lift
The test lift is the point where you find out if your planning holds up. Raise the load a few centimetres off the ground and pause there before going any further.
While the load hangs at that height, check for a few specific things:
- Sling Tension Looks Even: Each sling should appear to be carrying a similar share of the load, not one leg pulled tight while the others sag
- The Load Sits Level: If one side dips or the load starts to rotate slowly, the centre of gravity wasn’t where you estimated
- Nothing Shifts or Slips: Straps, chains, or packaging under the load should stay in the position they were set before the lift began
Ask any experienced dogger, and they’ll tell you the first few centimetres off the ground tell you more about a lift than the rest of it combined. A bad rigging job shows itself at that point, well before it becomes a problem higher up.
If anything looks off during the test lift, lower the load straight back down and re-rig before trying again. Pushing ahead on a lift that looks wrong at this stage is how site injuries happen, and it’s a completely avoidable one.
Lowering and Wrapping Up the Lift
Once the load’s in position and the lift is complete, lowering it correctly counts just as much as the pick-up. That’s because a fast or careless descent can undo all the care taken during the pick. Lower slowly, keep the crew clear of the swing radius, and don’t release the rigging until the load is fully supported and stable.
After the lift, take a moment to log anything worth noting for next time. This might be an angle that ran tighter than planned or a sling that showed early signs of wear.
Your Next Step for a Safer Spreader Bar Lift
Getting a spreader bar lift right comes down to a clear sequence. Start by assessing the load properly and checking your sling angles. From there, confirm sign-off between the dogger and crane operator, then run a test lift before committing to the full pick. Skip any one of these steps, and you’re relying on luck instead of planning.
If you’re a site supervisor or rigger working through this sequence on your next job, the same principles apply. It doesn’t matter if you’re lifting a precast panel, a piece of plant equipment, or a long structural section. Take your time on the load assessment and the angle check. The rest of the lift tends to go smoothly once those two things are right.
RUD Australia has spent decades engineering and certifying lifting equipment from our Brisbane facility. That includes custom spreader beams built for projects like the Townsville Ring Road upgrade. If your next lift calls for a spreader bar rated and engineered for the job, our team can help.